This viofo a139 pro 3ch install guide for toyota tacoma with hardwire kit walks you through a clean, professional-grade install on 2016-2026 Tacoma 2nd and 3rd gen trucks in under three hours. You will hardwire the camera to the fuse box using the included HK4 kit, route the front cable behind the A-pillar trim, run the interior cabin cable above the headliner to the rear glass, and pull the rear cable through the bed-to-cab grommet for the bumper-mounted rear camera. Parking mode buffered recording, GPS logging, and voltage cutoff are all configured at the end so your Tacoma is protected 24/7 without killing the battery.
The Viofo A139 Pro 3CH is the only consumer triple-channel dash cam in 2026 running Sony STARVIS 2 IMX678 sensors on all three lenses, which is why it has become the default pick for overlanders, contractors, and anyone running a Tacoma as a daily-plus-weekend rig. Done right, the install is invisible from the driver's seat and adds genuine 24-hour security to your truck.
The best viofo a139 pro 3ch install guide for toyota tacoma with hardwire kit for your situation depends on how you plan to use it and where.
What you need before you start
Buy or confirm you have the following before you crack a single trim panel. Doing the parts run mid-install is what turns a 2-hour job into a weekend project.
- Viofo A139 Pro 3CH camera kit (front + interior IR + rear cameras, all cables, mounting brackets, spudger)
- Viofo HK4 hardwire kit (3-wire: ACC yellow, BATT red, GND black) - do NOT use the cigarette lighter cable for a permanent install
- Add-a-circuit fuse taps - low-profile Mini for the 3rd gen (2016-2023) and Micro2 for the 2024+ 4th gen Tacoma
- microSDXC card - 256GB or 512GB high-endurance only. Samsung PRO Endurance or the Viofo-branded card. Consumer cards die in 60 days under parking mode load.
- Plastic trim removal tool set, 10mm socket, Phillips #2, fish tape or stiff coat hanger
- Multimeter to identify a true ACC circuit vs always-on
- Ring terminal for the ground bolt (M6 for Tacoma chassis ground)
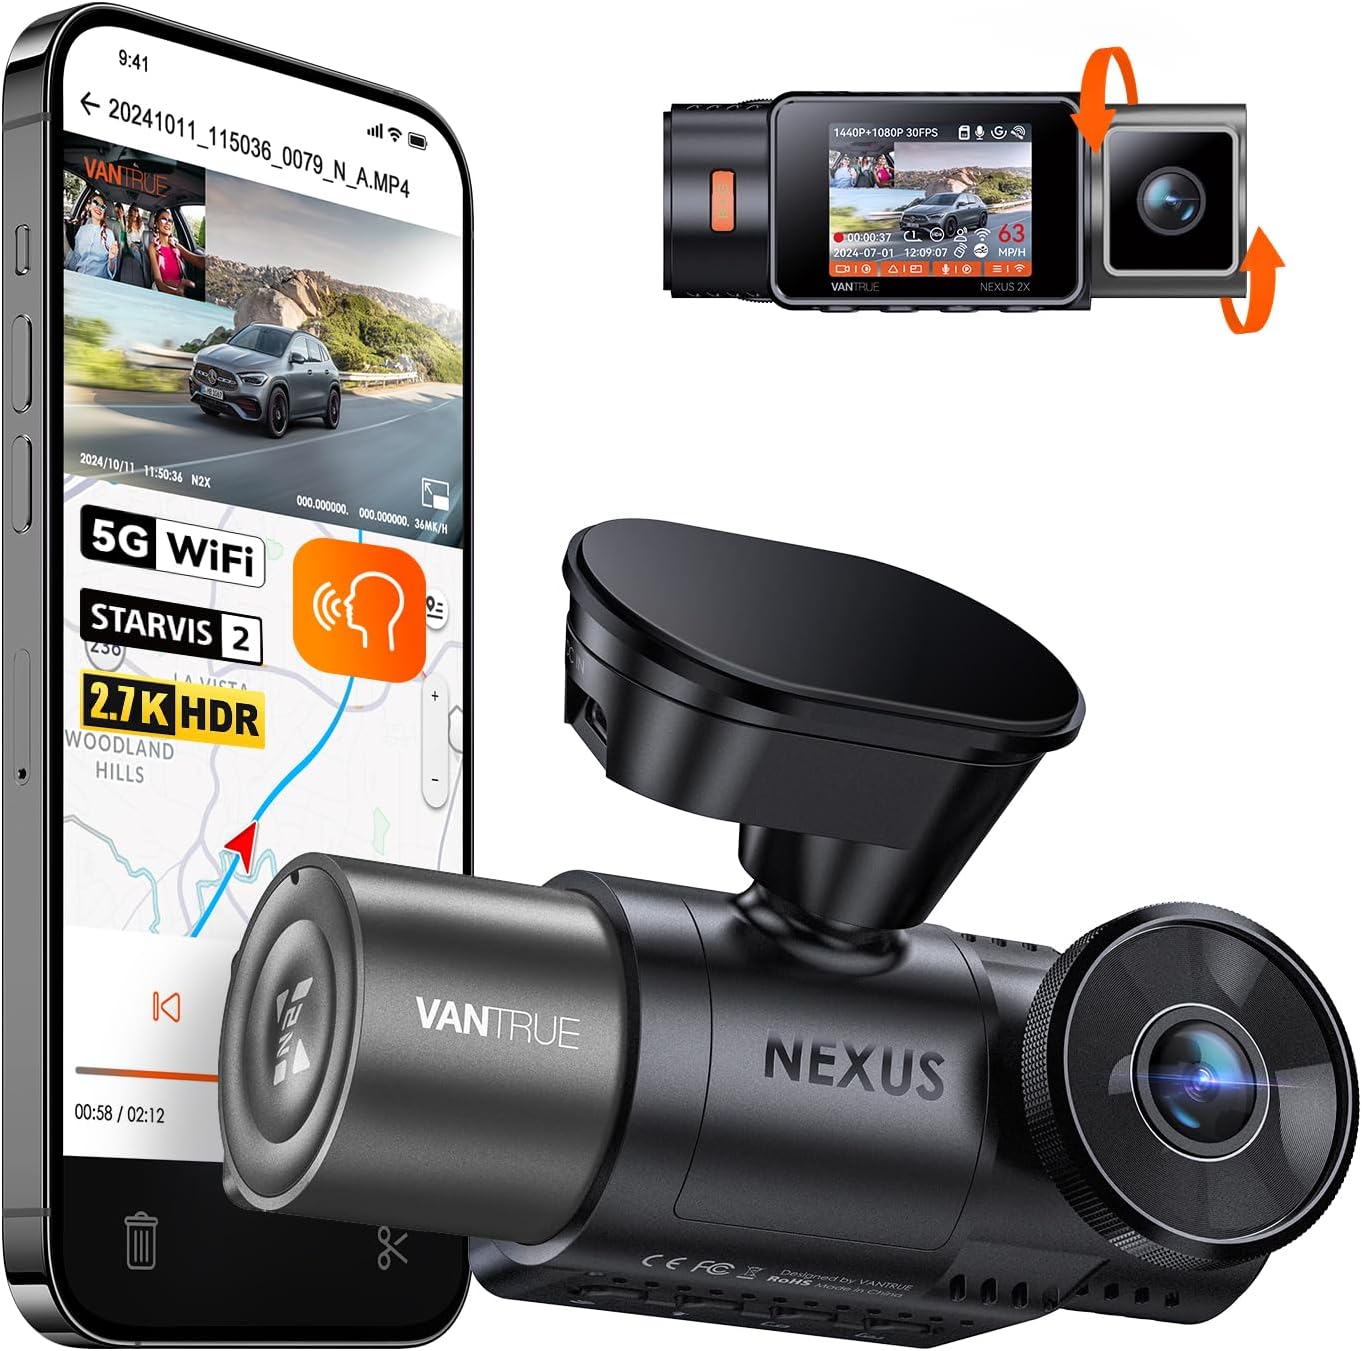
If you are still shopping and the A139 Pro 3CH is out of stock at your preferred retailer, the closest 3-channel alternative with an interior IR camera is the Vantrue N4 Pro S 4K 3-Channel, which uses the same STARVIS 2 sensor family and supports an almost identical hardwire procedure.
Step 1: Plan the cable runs before you touch the truck
The A139 Pro 3CH ships with three cables you need to route:
- Front camera to HK4 hardwire kit - runs from the windshield mount, across the headliner, down the A-pillar, behind the kick panel, to the driver-side fuse box under the dash
- Front camera to interior IR camera - short cable, runs along the headliner to a mount near the dome light or rear-view mirror base
- Front camera to rear camera - longest run, goes across the headliner, down the B or C-pillar, under the rear seat, through the bed-to-cab grommet (Tacoma has one behind the rear cab wall), and out to the rear license plate or tailgate handle area
Park the truck, pop the hood, and disconnect the negative battery terminal with a 10mm. You are working near airbag wiring in the A-pillar - skipping this step is how people fire an airbag.
Step 2: Mount the front camera
Clean the windshield behind the rear-view mirror with the included alcohol wipe. The A139 Pro front camera should sit just to the passenger side of the mirror so it does not block your view but stays within the windshield wiper sweep area. Peel the 3M VHB backing on the bracket, press firmly for 30 seconds, and let it cure for 10 minutes before you hang the camera body on the bracket.
On the Tacoma the ADAS bracket area behind the mirror is a tight fit on 2020+ trucks with TSS 2.0. Mount the camera at least 1 inch below the TSS sensor pod so the radar and camera do not conflict.
Step 3: Route the cables
Use the spudger to lift the headliner edge along the passenger side. Tuck the front-to-rear and front-to-interior cables in along the headliner channel. At the A-pillar, gently pull the trim out - the 2016-2023 3rd gen Tacoma has two clips, pull straight toward the rear seat. The 2024+ 4th gen has three clips and an airbag tether you must NOT detach.
Drop the hardwire cable down behind the A-pillar, behind the dash kick panel, to the driver side fuse box. For the rear camera, continue the headliner run to the B-pillar, drop behind the rear seat trim, then locate the rubber grommet on the back wall of the cab. On Access Cab and Double Cab Tacomas this grommet is behind the driver-side rear seat, accessible by folding the seat up.
Step 4: Wire the HK4 hardwire kit
This is the part most installs get wrong. The HK4 has three wires:
- Red (BATT+) - always-on 12V, used for parking mode
- Yellow (ACC+) - switched 12V, only hot when key is in ACC or RUN
- Black (GND) - chassis ground
On a 3rd gen Tacoma fuse box, good choices are:

- BATT (red) - Fuse 6 (DOME, 10A) or Fuse 8 (ECU-B, 10A) - both always-on
- ACC (yellow) - Fuse 14 (ACC, 7.5A) or Fuse 22 (CIG, 15A) - confirm switched with multimeter
- GND (black) - the M6 chassis ground bolt to the left of the fuse box
On a 4th gen 2024+ Tacoma the fuse box layout changed - use Fuse 12 (ROOM, 10A) for BATT and Fuse 28 (ACC1, 7.5A) for ACC. Always verify with a multimeter: BATT should read 12V with the key out, ACC should read 0V with key out and 12V with key in ACC position.
Install add-a-circuit fuse taps on both red and yellow. The smaller fuse goes in the back slot (the new circuit), the original fuse in the front slot. Crimp the ring terminal on the black wire and bolt it to the chassis ground.
Step 5: Configure parking mode
Reconnect the battery, power the camera, and connect to it via the Viofo app over Wi-Fi. The settings that matter for Tacoma parking mode:
- Parking Mode: Auto Event Detection + Time Lapse - buffered recording on motion, low-FPS continuous in between. Best balance of coverage and SD card life.
- Low Voltage Cutoff: 12.0V - default. Bumping to 12.2V is safer for the AGM battery in 2020+ Tacomas. The factory lead-acid in older trucks can go to 11.8V.
- Max Parking Recording Time: 24 hours - prevents weekend airport runs from draining the battery
- Time Lapse FPS: 1 FPS - 1 frame per second is enough to ID a hit-and-run
- G-sensor sensitivity: Medium - High triggers on every truck slamming a door near you
3-channel dash cam alternatives if the A139 Pro is unavailable
The A139 Pro 3CH has been supply-constrained on and off through 2026. If you are mid-install and find yourself needing a substitute, these are the realistic alternatives:
| Camera | Resolution | Interior IR | Parking Mode | Hardwire Kit |
|---|---|---|---|---|
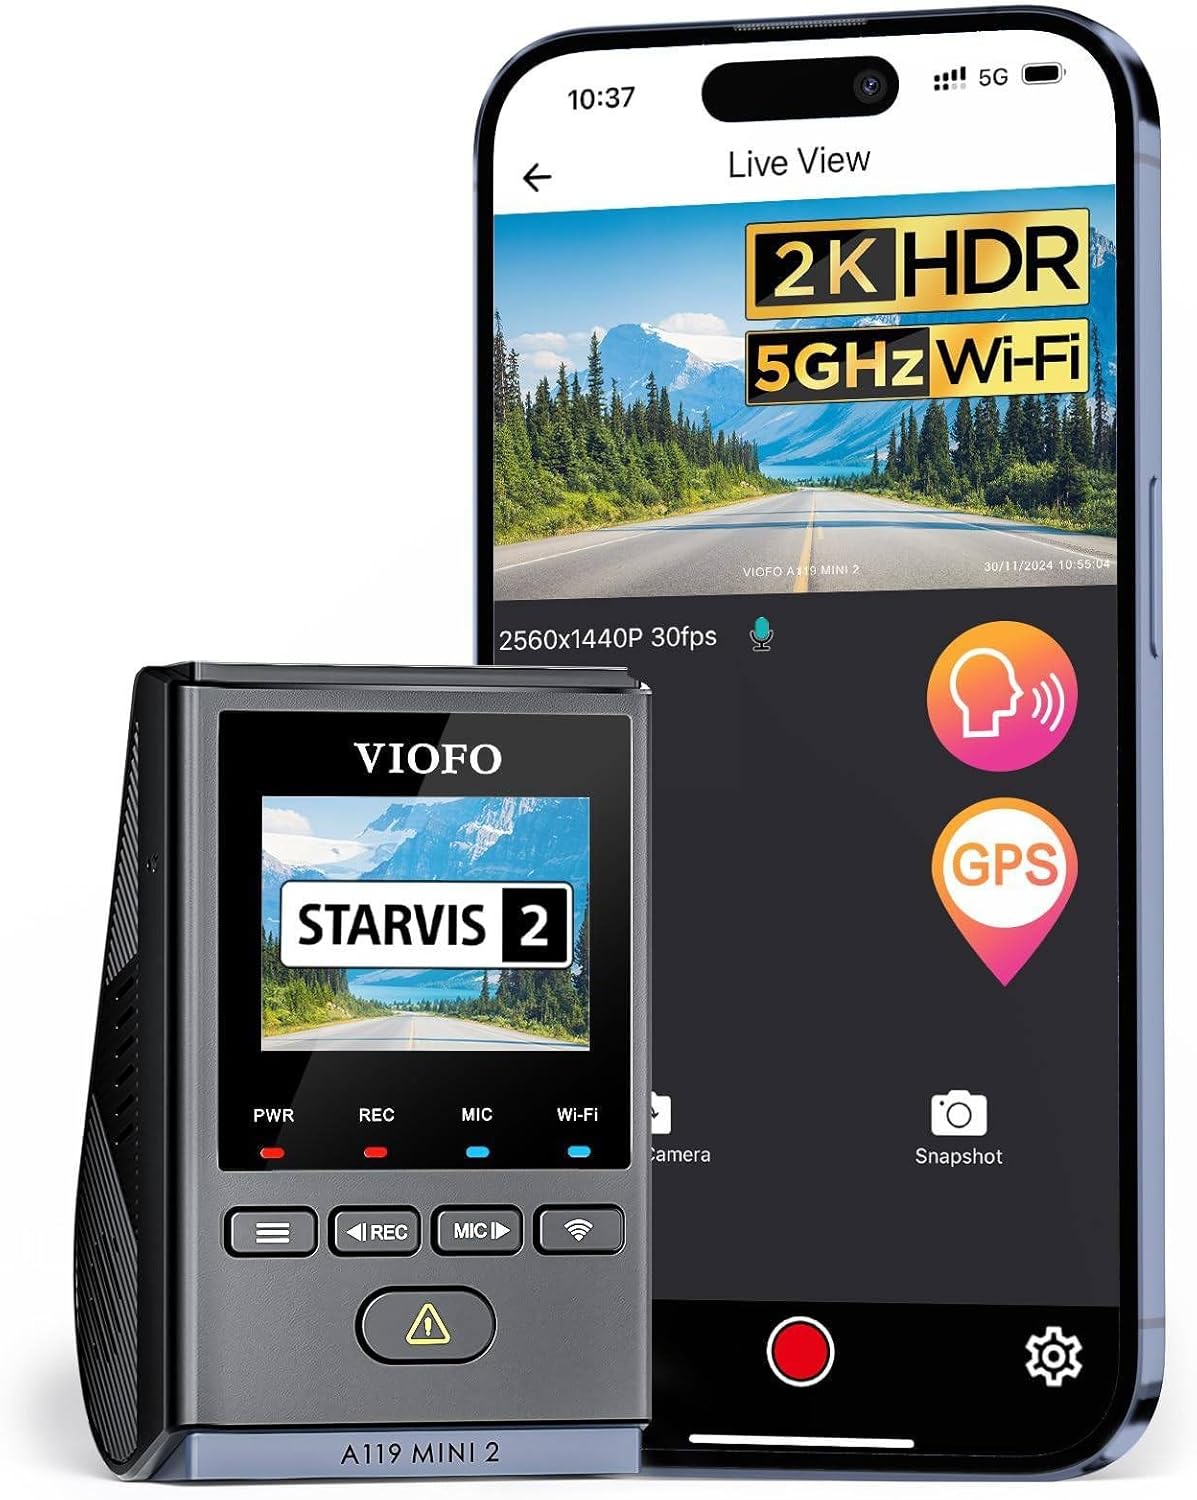
| Viofo A139 Pro 3CH | 4K + 2K + 2K | Yes (STARVIS 2) | Buffered + Time Lapse | HK4 (sold separately) |
| Vantrue N4 Pro S | 4K + 2.5K + 1080p | Yes (STARVIS 2) | Buffered | Type-C HK included |
| Generic 3CH 4K 128GB | 4K + 1080p + 1080p | Yes (IR) | Motion only | Cig adapter only |
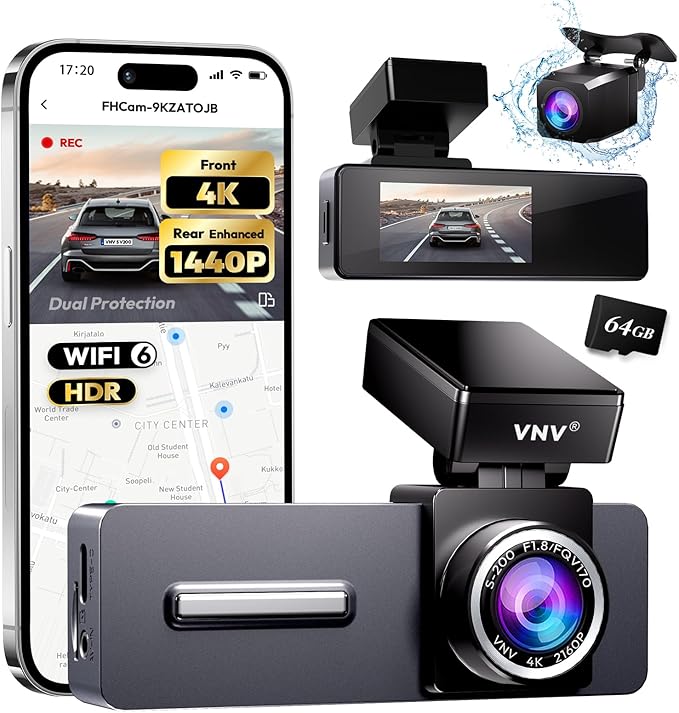
| VNV 4K+2.5K 2CH | 4K + 2.5K | No | Buffered | HK sold separately |
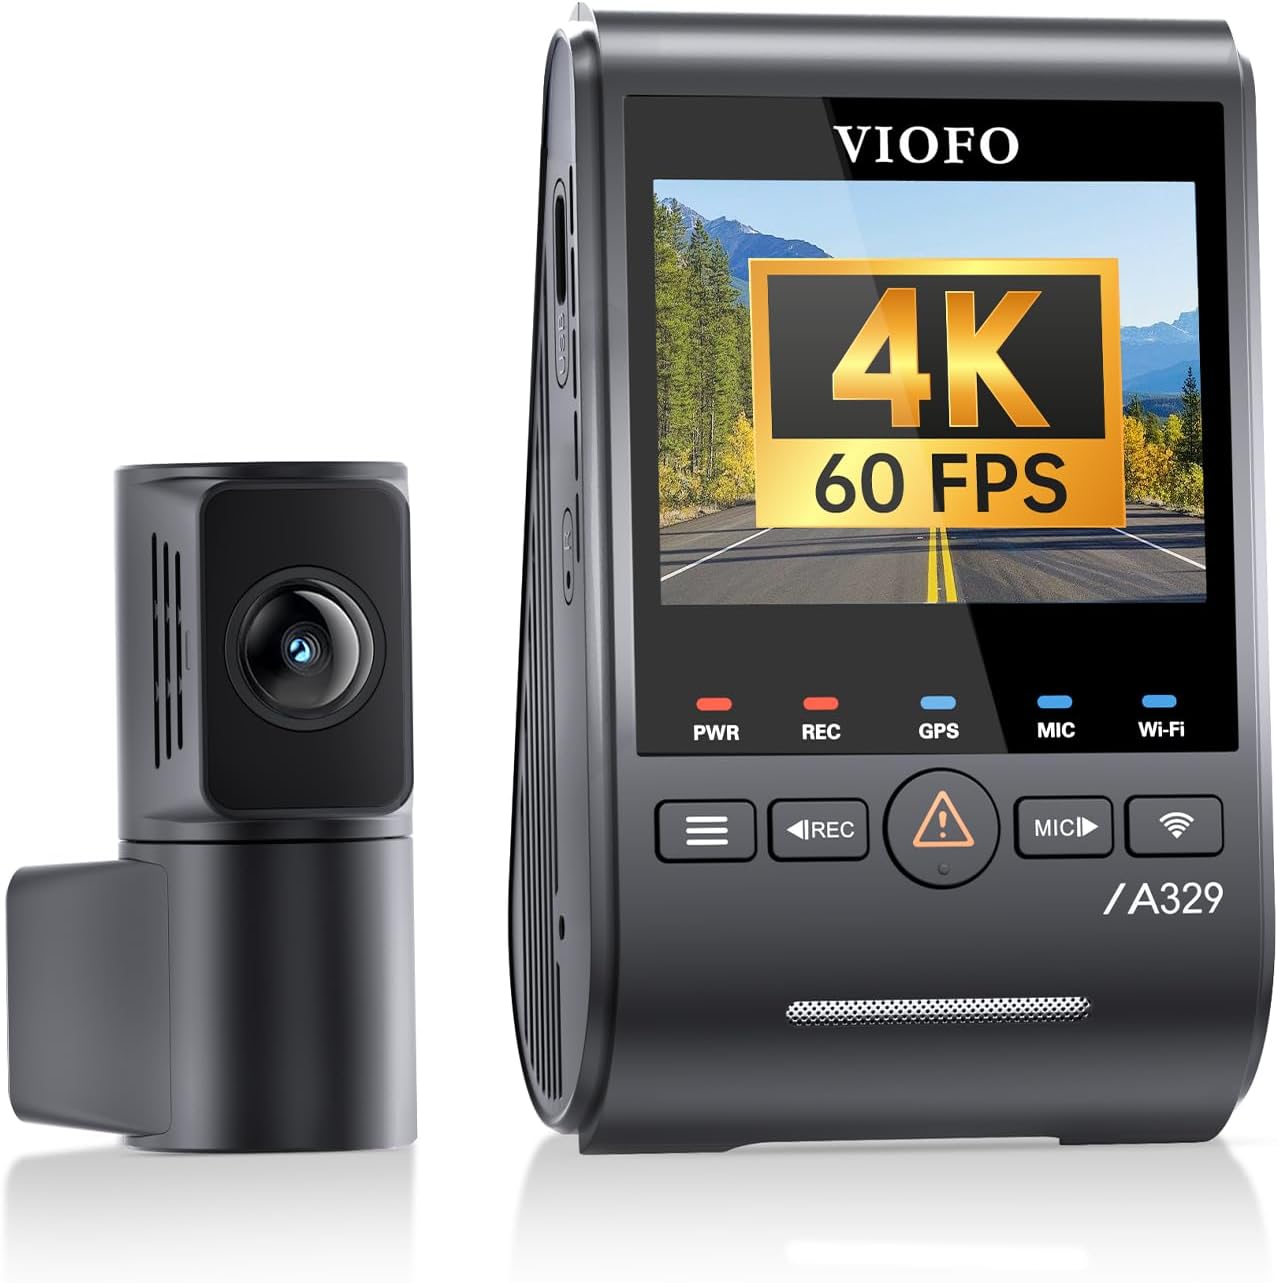
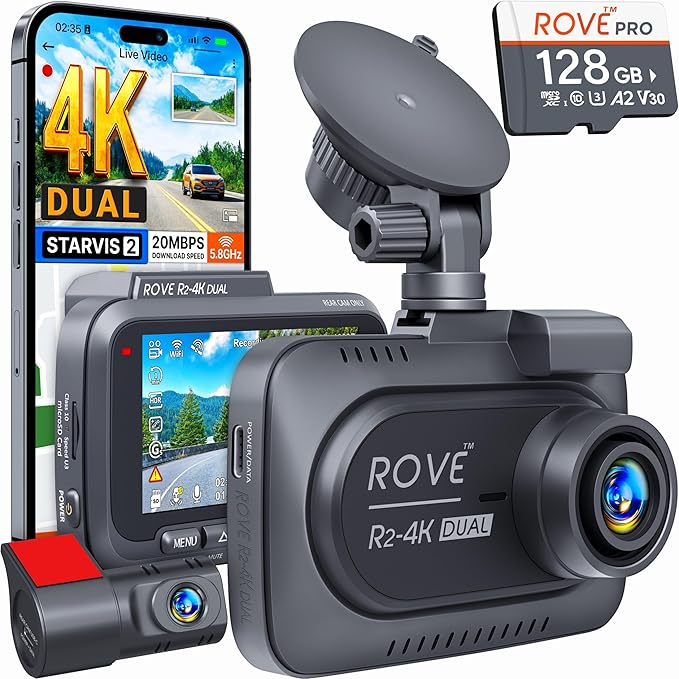
| ROVE R2-4K Dual | 4K + 1080p | No | Yes | HK sold separately |
Vantrue N4 Pro S 4K 3-Channel Dash Cam
The closest 1:1 substitute for the Viofo A139 Pro 3CH. STARVIS 2 sensors on all three channels, interior IR for night, and the install procedure on a Tacoma is nearly identical - same A-pillar route, same fuse tap approach. The N4 Pro S uses USB-C for the hardwire kit which is slightly easier to terminate than Viofo's mini-USB. Check the Vantrue N4 Pro S on Amazon.
4K Dash Cam Front and Rear 3-Channel with 128GB
Budget 3-channel option if you do not need the STARVIS 2 night performance and the A139 Pro is out of budget. Comes with a 128GB card which Viofo charges $40+ for separately. Trade-off is the parking mode is motion-only, not buffered, so you will miss the 5 seconds before an event. See the 3CH 128GB kit on Amazon.
VNV 4K+2.5K Front and Rear
If you only want front + rear and skip the cabin camera (most Tacoma owners do not need interior recording unless they rideshare), the VNV 4K+2.5K is a clean 2-channel pick that hardwires the same way. See the VNV 4K dash cam on Amazon.
ROVE R2-4K Dual
The longtime budget king. STARVIS 2 sensor on the front, 1080p rear, and a 128GB card included. Good fallback if you want a quick 2-channel install while you wait for the A139 Pro back in stock. View the ROVE R2-4K on Amazon.
REDTIGER 4K Front and Rear
REDTIGER ships with their own hardwire kit in the box, which is the main reason it shows up on Tacoma forums. If you want a 2-channel install where everything you need is one purchase, this is the path of least resistance. Check REDTIGER 4K on Amazon.
For more on which cameras are worth the parking-mode upgrade, see our guide on best 3-channel dash cams in 2026 and the difference between buffered and motion parking mode.
Frequently Asked Questions
Which fuse should I tap for ACC on a 2023 Toyota Tacoma TRD Off-Road?
Fuse 14 (ACC, 7.5A) is the cleanest tap on a 2016-2023 3rd gen Tacoma. Confirm with a multimeter: 0V with key out, 12V with key in ACC. Fuse 22 (CIG, 15A) also works but it shares the cigarette outlet load. For the 2024+ 4th gen, use Fuse 28 (ACC1, 7.5A).
Will the Viofo A139 Pro 3CH drain my Tacoma battery overnight?
Not if you set Low Voltage Cutoff to 12.0V (or 12.2V if you have the AGM battery in TRD Pro trims) and Max Parking Time to 24 hours. The camera draws roughly 250mA in time-lapse mode, which a healthy Tacoma battery handles for 36-48 hours before LVC trips and shuts the camera down to protect cranking voltage.
Do I need the HK4 hardwire kit or can I just use the cigarette lighter cable?
The cig lighter cable will only power the camera while the key is in ACC or RUN, which means zero parking mode and zero overnight protection. The whole point of installing a 3-channel cam on a truck is 24/7 surveillance, so the HK4 hardwire kit is mandatory for any real install. Skipping it is a $200 mistake.
Can I route the rear camera to the tailgate or do I have to mount on the rear glass?
On a Tacoma with a tonneau cover or topper, the rear glass is fine. On an open-bed Tacoma, mount the rear camera inside the cab on the rear sliding window or on the tailgate using a license-plate-frame bracket and the included waterproof cable. Tailgate mount gives a wider view but the cable through the tailgate hinge is the failure point - inspect annually.
How long does the full install take?
Plan for 2.5 to 3.5 hours for a first-timer. An experienced installer with a Tacoma trim kit familiar runs 90 minutes. The slowest part is fishing the rear camera cable through the bed-to-cab grommet on Access Cab models.
Does the A139 Pro 3CH work with the Tacoma TSS 2.0 ADAS system?
Yes, as long as you mount the camera at least 1 inch below the TSS sensor pod behind the mirror. The Viofo does not interfere with radar or the factory windshield camera. Several owners on the Tacoma forums have run this exact setup with no DTC codes.
What SD card size and brand should I run?
256GB Samsung PRO Endurance or the Viofo-branded high-endurance card is the sweet spot. 512GB works but is overkill unless you want a week of parking mode buffer. Do NOT use a consumer Samsung EVO or SanDisk Ultra - they die in 60-90 days under continuous parking mode writes. Format the card in-camera every 30 days.
Will my Tacoma warranty be voided by a dash cam hardwire install?
No. Toyota cannot void a warranty for adding a fuse-tap accessory under the Magnuson-Moss Warranty Act unless they can prove the accessory caused the failure. Tapping switched and constant fuses with proper add-a-circuit taps is a non-invasive, fully reversible install.
For more buying guidance, check our best dash cams for pickup trucks 2026 roundup and our deep dive on Sony STARVIS 2 vs STARVIS 1 night performance.
Key Takeaways
- Choosing the right viofo a139 pro 3ch install guide for toyota tacoma with hardwire kit means matching capacity and output ports to your actual devices
- Always check actual watt-hours (Wh), not just watts — runtime depends on Wh, not peak output
- Also covers: viofo a139 pro install tacoma
- Also covers: tacoma 3 channel dash cam hardwire
- Also covers: viofo hk4 fuse box tacoma
- Compare price-per-Wh across models to find the best value for your budget