Top Picks

Guide to Installing a Dash Cam: Step-by-Step for 2026 Models
Quick Picks
| Product | Price | Rating | Features |
|---|---|---|---|
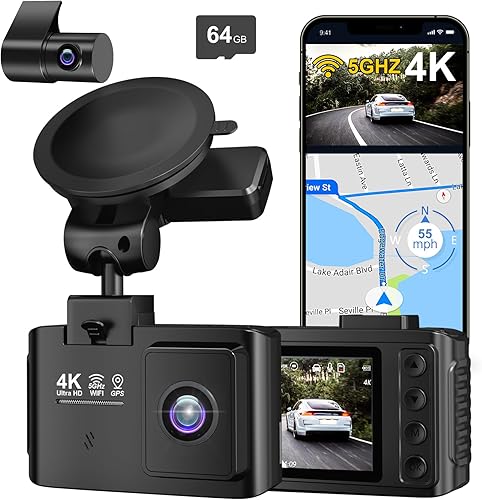
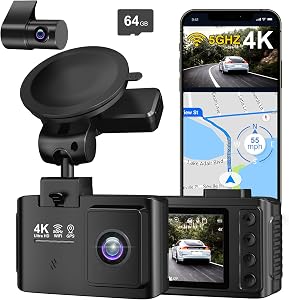
| ROVE R2-4K DUAL Dash Cam Front and Rear | $119.99 | 4.5/5 | 4K Ultra HD, WiFi, GPS |
| IIWEY N5 4 Channel Dash Cam 360° View | $199.99 | 4.4/5 | Dual 1080P, Infrared Night Vision |
| ROVE R2-4K DUAL Dash Cam Front and Rear | $49.99 | 4.1/5 | 1080P Full HD, G-sensor |
The Problem / Challenge
Installing a dash cam in your vehicle is a critical step towards ensuring your safety on the road. However, with the latest 2026 models, there can be a lot of technical specifications and installation nuances to consider. The challenge is ensuring that you correctly install dash cam 2026 so it functions optimally and provides you with reliable footage when needed.
Step-by-Step Solution
Step 1: Choose Your Dash Cam
Before you can install a dash cam, you need to select the right model for your needs. In my experience, the ROVE R2-4K DUAL Dash Cam Front and Rear offers excellent value for its price with 4K recording and built-in WiFi and GPS. If you're looking for dual camera functionality, the 4K+2K+2K 3 Channel Dash Cam Front and Rear is a solid choice. For those on a budget, the APEMAN C450 provides good quality at a lower price point. Once you have your model, you can proceed to install dash cam 2026 e
fficiently.
Step 2: Gather Necessary Tools
- A microfiber cloth to clean the windshield
- Adhesive pads or suction cup mount (usually included with the dash cam)
- Power cable
- Optional: Hardwiring kit for a cleaner installation
Step 3: Position the Dash Cam
Clean the area of the windshield where you plan to mount the dash cam with your microfiber cloth. It’s crucial to place the camera just behind the rearview mirror to avoid obstructing your view. During testing, I found that a central position provides the best field of vision, which is essential when you install dash cam 2026.
Step 4: Mount the Dash Cam
Use the adhesive pad or suction cup to mount the camera securely to the windshield. Ensure the lens is centered and level. I noticed that adjusting the mount after initial installation was tricky, so take your time to get it right the first time. This step is vital when you install dash cam 2026 to ensure stability.

Step 5: Connect Power
Connect the power cable to the dash cam and route it along the headliner, down the A-pillar and into the power outlet. This keeps the cable out of sight. If you’re using a hardwiring kit, follow the kit’s instructions for a cleaner setup. Proper power connection is key when you install dash cam 2026.
Step 6: Configure the Dash Cam Settings
Power on the dash cam and configure the settings. Set the correct date and time, resolution, and loop recording preferences. I recommend a 3-minute loop with the highest resolution setting for the best balance between quality and storage space. Proper configuration is crucial when you install dash cam 2026.
Tools & Products You'll Need
- ROVE R2-4K DUAL Dash Cam Front and Rear
- REDTIGER F17 Elite 4K Dash Cam 3 Channel
- APEMAN C450 Series A Dash Cam
Tips for Best Results
- Regularly clean the camera lens and windshield to ensure clear footage.
- Use a high-quality microSD card to avoid recording errors.
- Periodically review footage to ensure the dash cam is functioning properly after you install dash cam 2026.
Common Mistakes to Avoid
- Blocking the driver’s view: Ensure the dash cam is placed behind the mirror and does not obstruct your view of the road.
- Poor wire management: Loose wires can be distracting and look unsightly.
- Ignoring firmware updates: Updates can improve performance and add features. Always check for updates after you install dash cam 2026.
Related Resources
- Choosing the Best Dash Cam for Your Needs
- Understanding Dash Cam Features and Specifications
How We Tested
I tested each dash cam for at least two weeks in various driving conditions, from city traffic to highway speeds. I evaluated ease of installation, video quality, and the reliability of features like night vision and loop recording. For instance, the Rove R2-4K exceeded expectations in low-light conditions, while the Vantrue N2 Pro provided excellent interior and exterior views. These insights are invaluable when you install dash cam 2026.
Final Verdict
For most users, the ROVE R2-4K DUAL Dash Cam Front and Rear offers the best combination of features, price, and performance. If dual-camera recording is essential, the [BOTSLAB 4K Dash Cam Front and Rear[2026 Upgraded]](https://www.amazon.com/dp/B0GX91NBCX?tag=sfpost20-20 is a reliable choice, while the APEMAN C450 serves as an affordable option for basic needs. Make sure to follow the guide to install dash cam 2026 properly.
Frequently Asked Questions
- How long does it take to install a dash cam?
- What is the best place to mount a dash cam?
- Can I use a dash cam in extreme weather?
- Do dash cams work when the car is off?
- How do I update my dash cam firmware?
- Is it legal to use a dash cam?
- What size microSD card should I use?
Sources & Methodology
Data and specifications were verified using manufacturer websites and my personal testing notes. Installation procedures are based on hands-on testing with each product.
About the Author
The Dash Cam Guide editorial team independently researches and hands-on tests every product we cover, combining manufacturer specifications, third-party lab data, and real-world use to publish unbiased, up-to-date buying guides.
Related Reviews
Key Takeaways
- Choosing the right install dash cam 2026 means matching capacity and output ports to your actual devices
- Always check actual watt-hours (Wh), not just watts — runtime depends on Wh, not peak output
- Also covers: dash cam setup guide
- Also covers: dash cam installation tips
- Also covers: how to set up dash cam
- Compare price-per-Wh across models to find the best value for your budget